
No problem, Mom to the rescue! Time to hem those jeans.
First you need to have the wearer put the jeans on with some shoes and pin the length so that the back of the jean pant is just brushing the floor at the back of the heel.
Then you will have 1 pinned jean leg, like this.

Here is another view.

Next you will want to fold the jeans over and make sure they are PERFECTLY FOLDED IN HALF.
MAKE SURE YOU PLACE PINS ON THE FOLD LINE. SEE PICTURE BELOW. You will need these pins later, it is a very important step.

Look here how I ensure the pocket area is lined up too.

Next you will measure 1 1/8" from the folded line. This is your cutting line.


Next you will mark this cutting line with tailor's chalk. This can be bought at your local fabric store for about $2.


Look at this last picture above. You will see the pants still folded as exactly in half as possible, and your cutting line clearly marked in tailors chalk. The beauty of tailor's chalk is it brushes away. There won't be any lasting marks in the fabric.
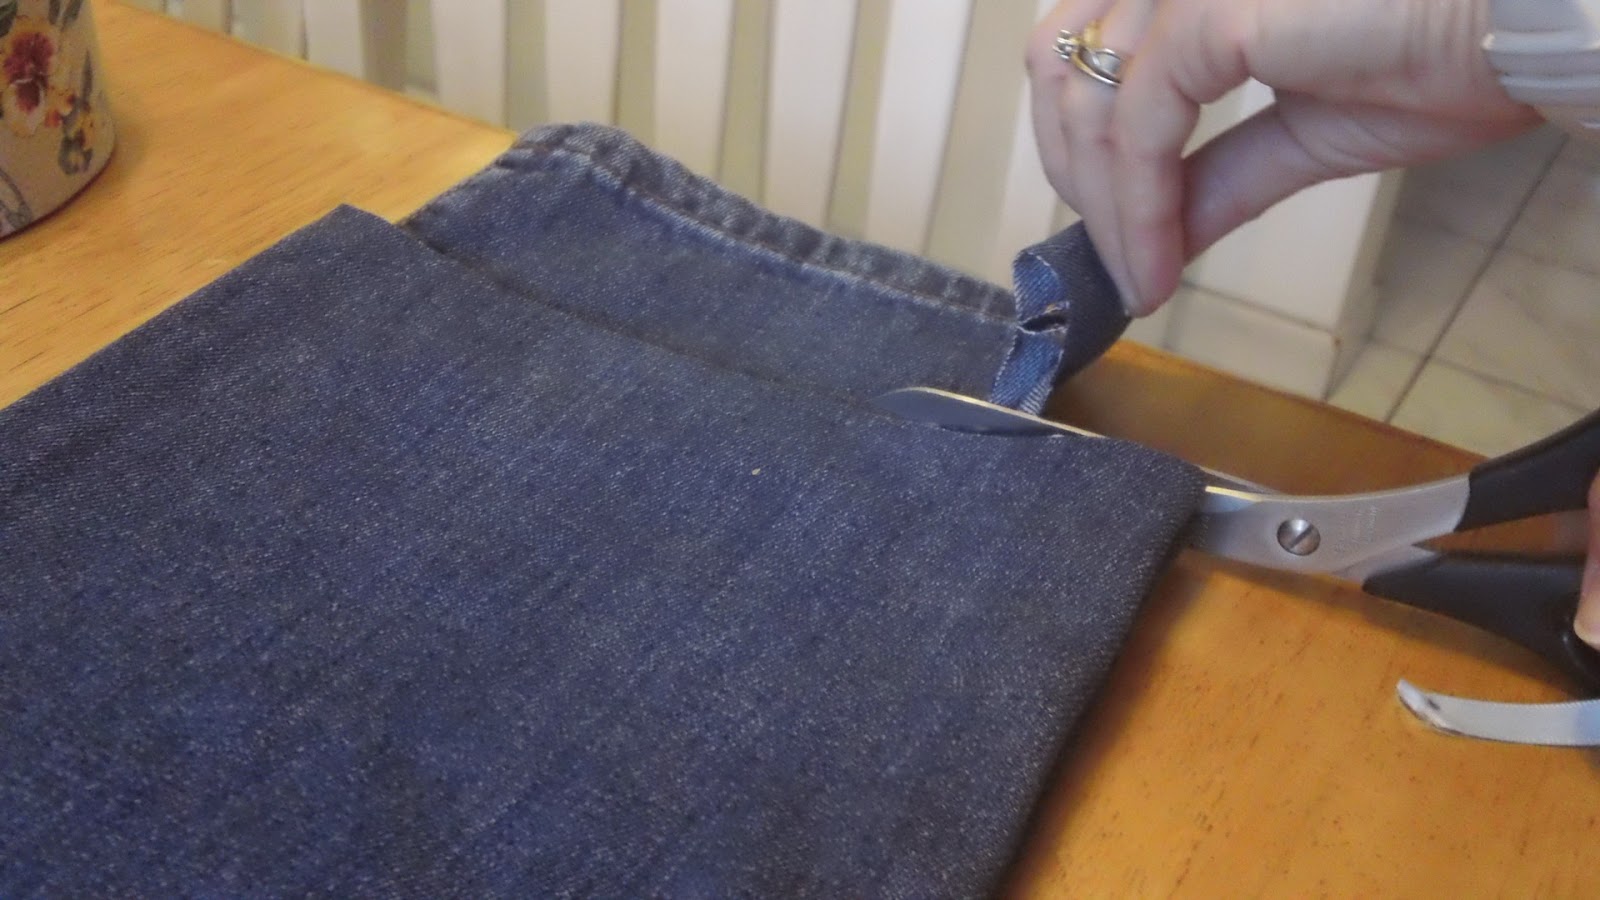
Now cut on the line you just drew.

Next you will unfold the pinned edge, flip the pants over VERY CAREFULLY TO KEEP THEM LINED UP, and cut the other side to be the same length. Be sure to leave the pins at the fold mark so you know where you are going to fold the finished edge to.
Now you will fold and pin the pants to the fold line you left with the pins. Simply use the distance between the cut edge and the pin marked fold line to fold in half and then in half again.

Here is the two pant edges cut together with the pin markings left for the fold line.

Here is the pant edges, fold in half and in half again to meet those pin marked lines. Sorry this picture turned out blurry.
Once you have pinned both pant legs to match, lay them flat together. They should look something like this:

You can use a dark thread to hem, or buy a thread at the fabric store that is sold as a denim coloured thread made by Guiterman threads. See my thread in this picture:

Next adjust the presser foot pressure on your sewing machine to less than normal. I have a quilting machine and it looks like this. See how I reduced the presser foot pressure to less than normal.
On your machine it is the little knob at the top of your machine over the needle area. Please check your sewing machine manual for specific directions.

Now you will sew on the inside of the jeans to stitch the hem. It will look like this:

Stitch in a circle around each pant leg until you have 2 hemmed legs. You will need to REALLY SLOW DOWN at the thick part of the leg seams. If your machine is more basic, you will have to hand crank these stitches. It is worth it to save money if you ask me. On my machine I can back off the pressure when I get to these seams if I think I need to, and I can bring it a bit closer to normal for the other parts of the hem.
Take the time to get to know what your sewing machine can do. Most machines have A LOT of capabilities if we take the time to learn.
Your finished jean hem should look like this:

Here is one last picture of the finished job.

There it is! You can hem your own jeans. If you own a sewing machine, for the simple investment of some thread and tailor's chalk, you can side step the hemming fee at a local tailor and do the job yourself for less than half the price. Once you have the thread the chalk, future hemmings are practically for free!
Happy Hemming!
Cassie
No comments:
Post a Comment